***Go HERE to read my guest post on Cleaning Tips & Tricks for Busy Moms!

Friends – today, my friend Amanda is sharing her best tips for transitioning your toddler to a big boy room or big girl room! If you are looking for design inspiration, DIY projects, or amazing mom/lifestyle tips, you MUST follow along with her on Instagram and her blog! As you know, we transitioned Leyton to our guest bedroom so the baby could have his nursery. We are still working on finishing up all the details with his room but as I promised, Leyton’s big boy room reveal will be on the blog soon! In the meantime, I hope you enjoy reading Amanda’s tips today!
Hi there! I’m Amanda from Love & Renovations and I’m so honored to be here today to chat with you while Heather is on maternity leave!
Allow me to introduce myself for those of you who don’t know me – I’m a home decor & DIY blogger who lives in the Austin, Texas area with my husband and our son (soon to be two sons – I’m due in about a week!). I love to chat with my readers about easy, accessible projects for the home that anyone can do, and I’m a big believer that you don’t have to be a pro to take on renovations in your home – after all, I’m usually just making it up as I go along!
Today, Heather asked me if I would chat with y’all about the big boy room transition. It can be a scary one – especially if you’re making it for the first time! Thankfully, it isn’t all scary, and it can actually be really fun to work on designing a new room with a kiddo who is actually old enough to have a little bit of input.
I’ve got a few different tips and ideas I want to share with you today. First up, we’re going to talk about ideas for how to get your child involved in the process of designing their room. If you’re going to be putting time and effort (and money) into this new space, you want to be sure they love it, right? It can be a challenge to find a good balance between creating a room you’re happy with and that your child also feels invested in, but with a little bit of creativity and effort you can make a space that you will both love for years to come.

Here are a few quick tips for involving your kids in the design process of creating a big boy room/big girl room:
- Ask what they want! This might seem like an obvious tip, but it’s the most important step in making your child’s room into a space that they’re proud of. Be prepared for an off the wall answer, but you might actually get some really great insight! For example, my son requested that his room in our second house (which is still in-progress) look like the Berenstain Bear’s room from the book about their messy room. It was one of my personal faves as a kid so I knew just what he meant – he wanted lots of organization, some creative storage solutions (like a pegboard) and easy ways to keep things clean. Done and done!
- Provide a few options. One of the simplest ways to ensure both of you are happy when working on a child’s room is to narrow things down to a few options that you’re happy with, then allow your child to choose from those. For example, instead of letting your child pick from any color of the rainbow to paint their walls, choose a few swatches and present them to your kid – ask which one they like the best. This works for paint, bedding, art, and just about anything else you’re doing in the room! I also like to create a mood board and show it to my son when I’m working on a space for him – then he can tell me what he likes and what he doesn’t, and it helps make sure we’re on the same page!
- Think about how they use the space. In terms of function, you want to make sure you’re addressing the actual needs of the room. If your kiddo has a separate playroom and really is only in their room to sleep, then a ton of toy storage isn’t necessary and you probably want to shoot for a more calming space. However, if you’re like us and your child spends a lot of time playing in their room (and you need the room to be the main storage space for all of their toys), you’re going to want to think primarily about creative ways to pull storage together and keep things organized. It’s a small mind shift but it’s important to think about how your child will be using the room to ensure it works well for them!
- Let them help put it together. Even if your child hasn’t had much input in the design of their room, a great way to help them feel more invested is to allow them to participate in things like building furniture and putting the room together. My four-year-old is the king of IKEA furniture and with a bit of guidance, he did most of the work for the bookcases in his room! Kids love to hammer and screw things in, and it’s a simple project that is more or less foolproof. The more you can get them involved, the more proud of the space they’ll be!
- Give a little. In the end, we all want a beautiful home but the most important thing is to have a space your child loves, right? Sometimes you just have to remind yourself that your child’s room is their space, and no matter how tempting it can be to take full control of how it looks, sometimes you just have to make like Elsa and let it go. Our son chose pink ice cream sheets to go on his bed and, while they don’t exactly match the rest of the room, it’s not a huge design element and they make him smile – so what do I care?! Try to stick to your guns on the big design choices that you truly care about, but allow some creative freedom when it comes to the rest of it! After all, we all know they’re going to want something different in just a couple of years, anyways!
Of course, my personal favorite part of any renovation is tackling a DIY project or two. I love to get creative with my rooms (especially kids rooms!) and get my hands dirty with a project that will save us a bit of money and also make the room feel more personal. Here are a few of my very favorite projects for big kid rooms:
DIY Projects for Big Boy Room/Big Girl Room

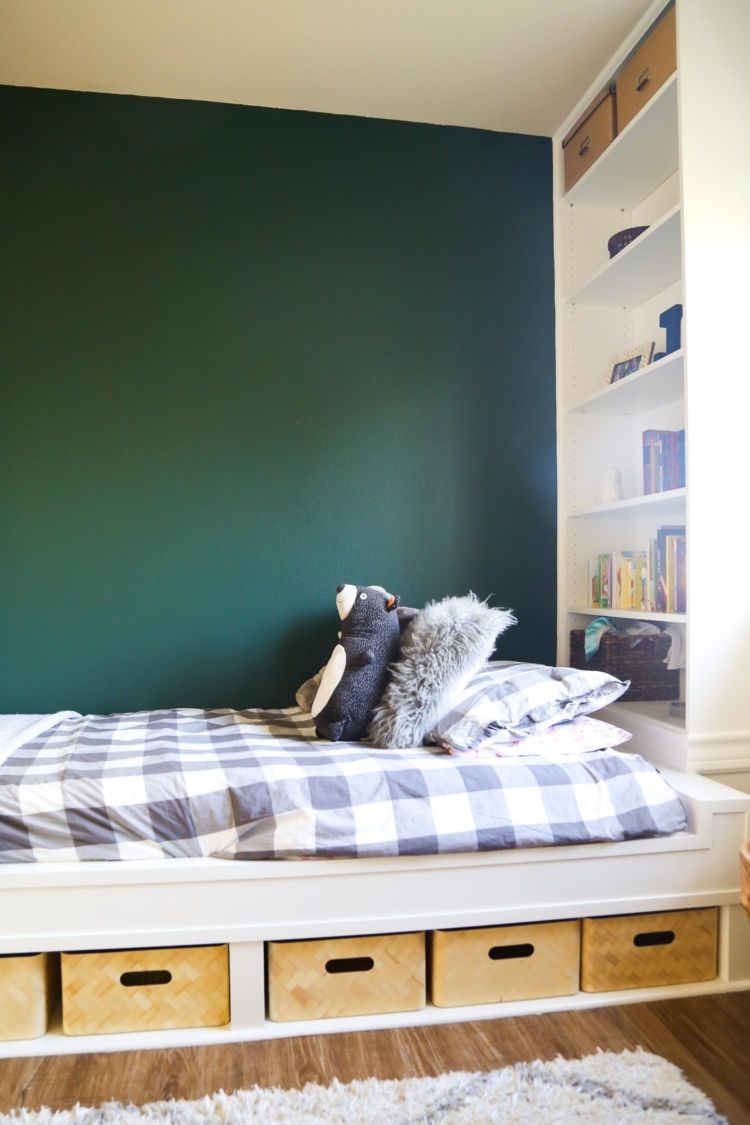
- Need some extra storage space? This DIY Built-in Shelves and Daybed gave our son’s big boy room a ton of function – and it’s beautiful, too!
- If your child has a specific request that’s hard to find (like a bright red bed, which was our son’s very first request for his big boy room in our last house), try your hand at painting some furniture. We painted a cheap IKEA bed for our son’s first big kid room, and he loved it!
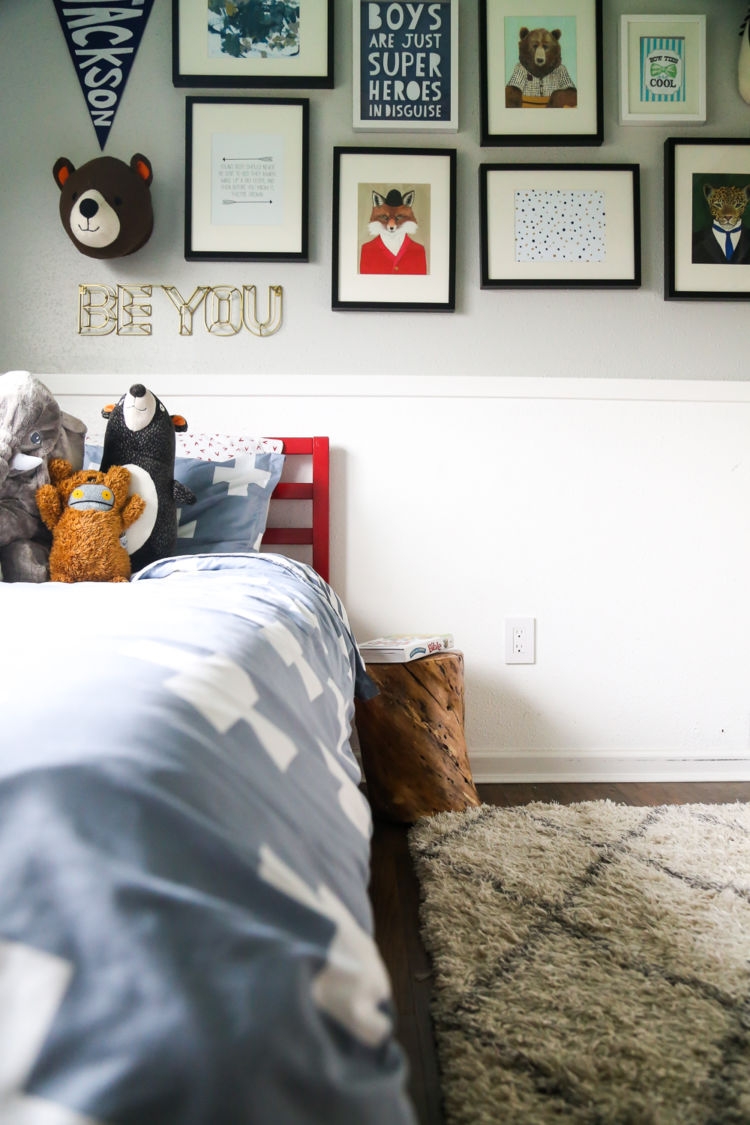
- Get your child involved in making some art for the room. I needed some extra pieces to fill in a gallery wall I was making, so I handed my son a paintbrush and some coordinating colors and let him go to town. The finished result was abstract and cute – and it was something he could be proud of.
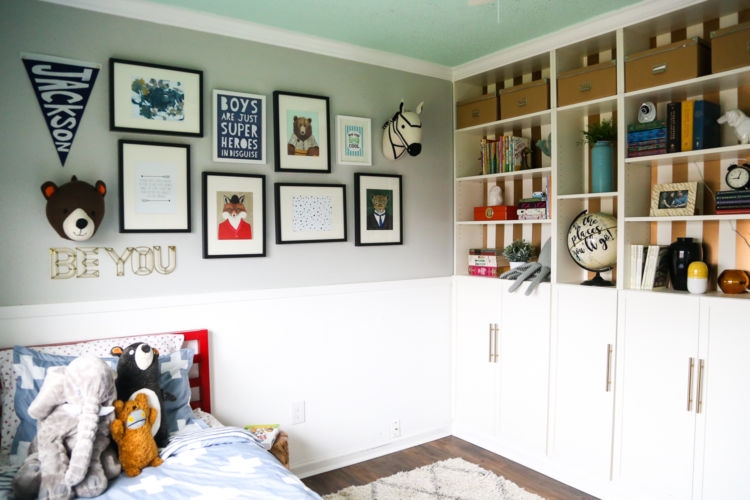
- With a little bit of trim and paint, you can take plain IKEA bookcases and turn them into faux built-ins – they add a ton of extra storage space, a lot of visual interest, and are a great way to help keep toy clutter off the floor!
- Consider painting the ceiling! We wanted to stick with neutral colors for the walls in our son’s big boy room, but we still wanted a fun pop of color. So, we decided to paint the ceiling for a little visual interest and an unexpected punch (you can see it in this post about his nursery). Alternatively, if your kiddo really wants to use a color that you don’t want a huge dose of, you can paint one accent wall or even create some art with the color to bring it in while still keeping the rest of the room neutral.
I hope this gets your creativity flowing a bit with ideas for how to tackle the transition to a big kid’s room! I’d love to hear about some of the creative projects you’ve tackled for your children’s rooms – and I’d love to see some of you over on my blog, Love & Renovations! I’ve got tons of inspiration for kid’s rooms, nurseries, and the rest of your home as well!
I told you she was great and you would love her! Aren’t her design ideas INCREDIBLE?! If only we were all blessed in those areas! What are your best tips for transitioning your toddler to a big boy room or big girl room? If you are looking for home posts on my blog, go here!
Pin the Big Boy Room Transition Post for Later!


Where are the fox, bear, and tiger wall pics from? This whole gallery wall is perfect!!!