This post on My Go To T-Shirt Tying Technique was originally published in October 2017 and updated in April 2022.
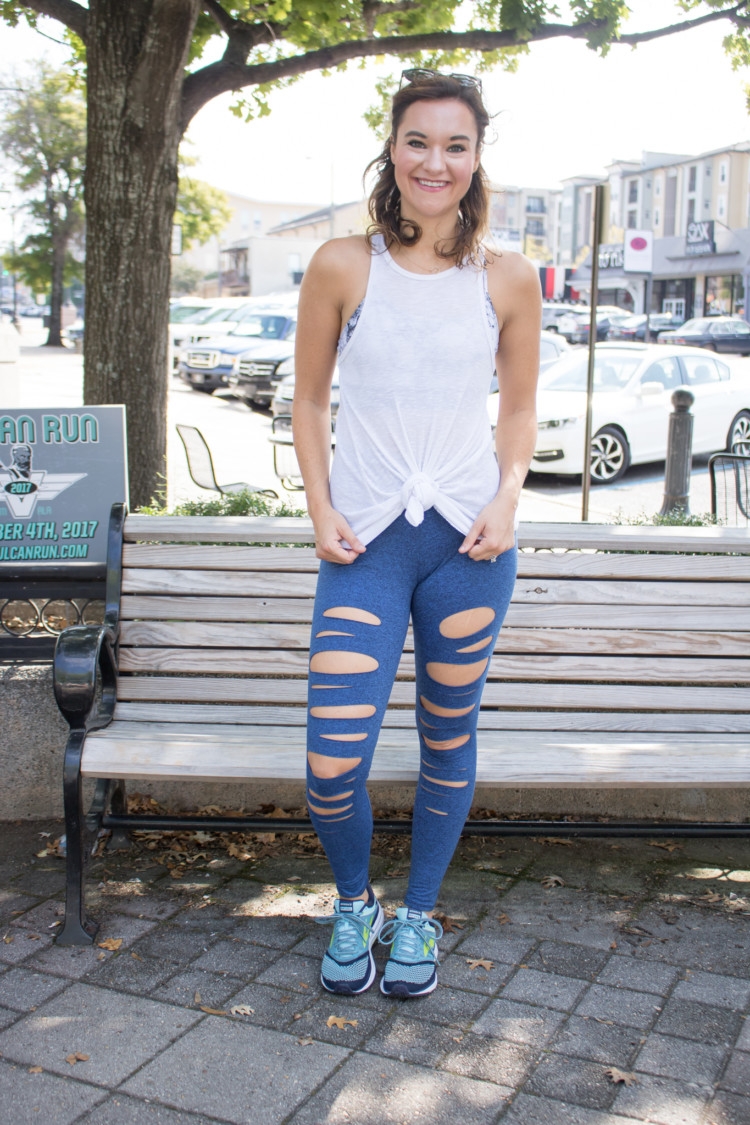
Shop the How To Tie Up A Shirt Post: Tank // Sports Bra // Leggings // No Show Socks // Sneakers
Photos: Lindsay Gowland Photography
Hey girl gang!
I get so many questions from y’all about how to tie up a shirt and especially after THIS killer workout post with this outfit on!
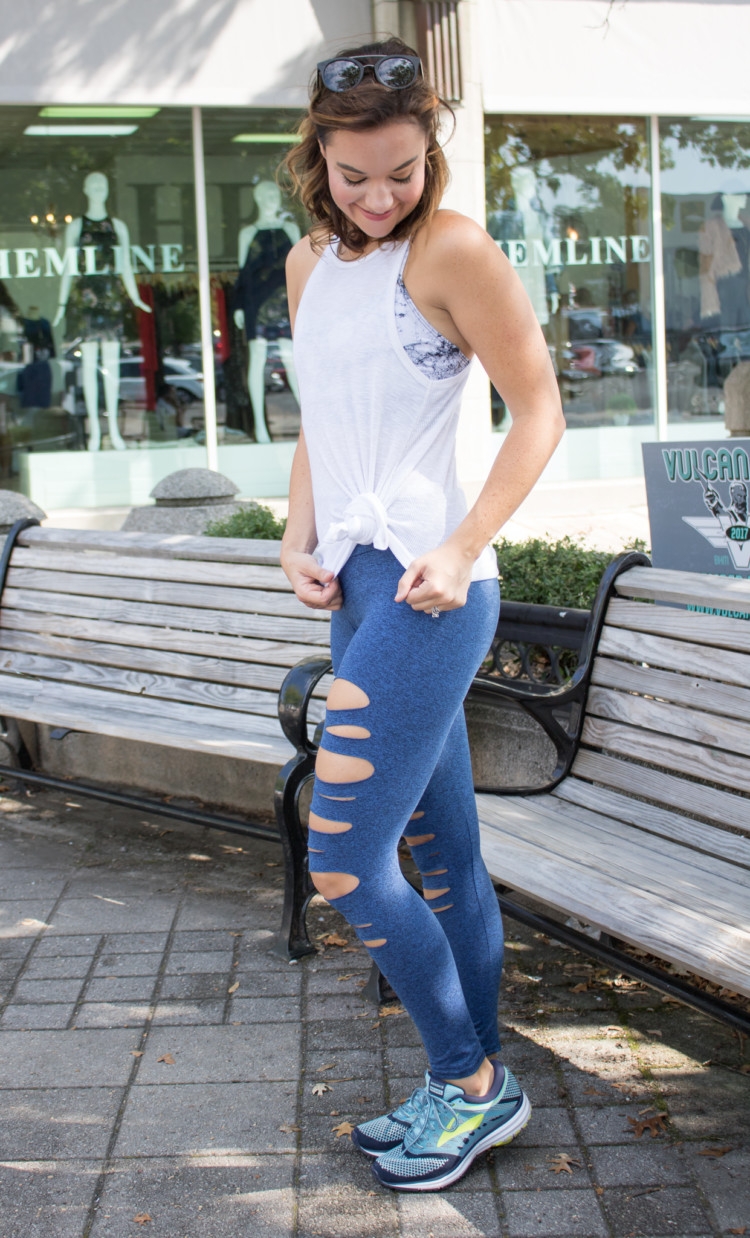
Tying up a tee really couldn’t be more easy to do. It’s such a quick way to add a little detail to your top and a little extra definition to your waist. And since these Onzie pants have so much character already, I love tying up my t-shirt to show them off even more!
There’s really no wrong way to do it, just try it until you get a knot that you love! Before you start, decide where you want your knot to be- in the middle, or to the side? And if you’re really adventurous maybe try it out in the back! Wherever you want your knot to be, that’s where you’ll begin.
This tied-up look is one of my favorite looks to rock at Burn Bootcamp. It’s also great for keep top out of the way during my workouts when I’m in a round of FASTer Way to Fat Loss. Wondering when the next round of FWTFL begins? Click HERE to find out and join me! If you jump in, be sure to choose Miranda Wesley as your coach so we’ll be doing the newest round together! If you need a FREE resource to kickstart your health journey, try downloading my FREE 6 WEEK LUNCH GUIDE!
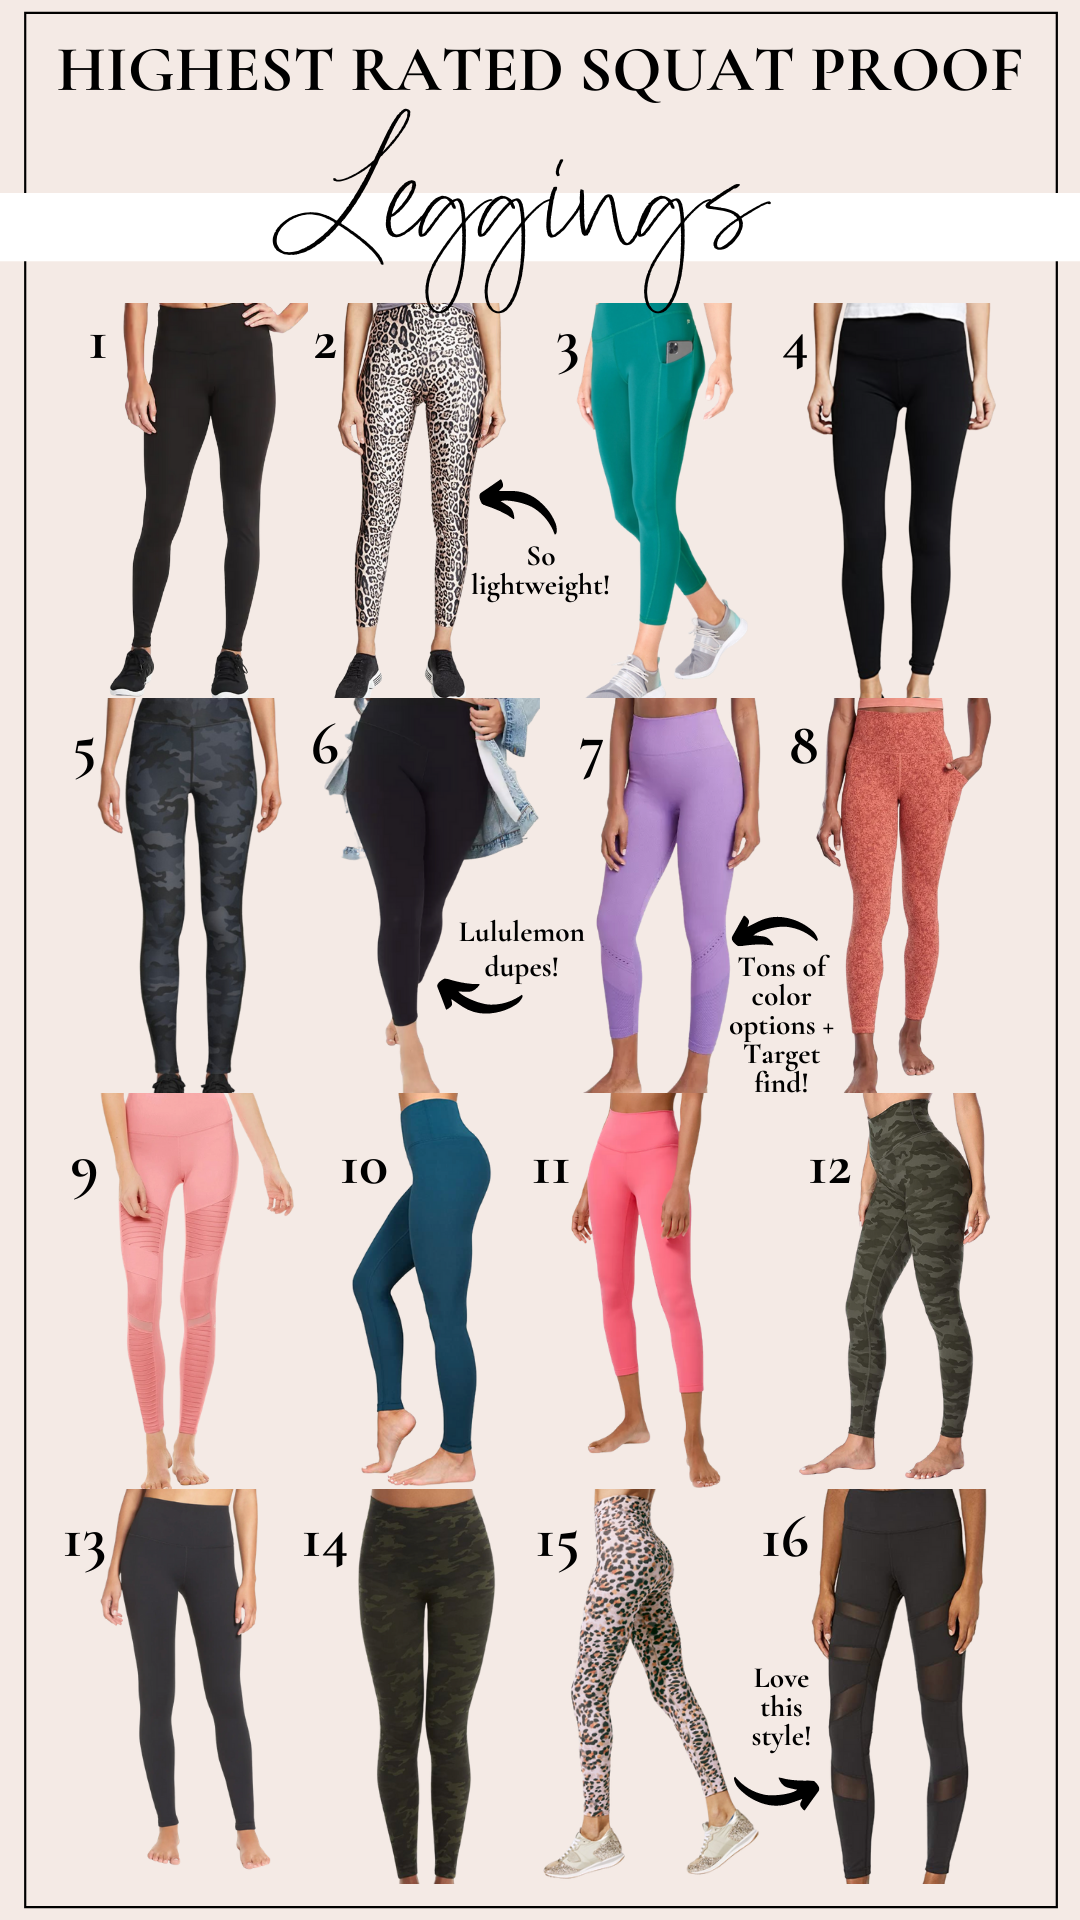
LOVE Leggings & Want To Shop My Favorites? Check Out These Posts:
Watch My T-shirt Tying Tips HERE:
How To Tie Up A Shirt:
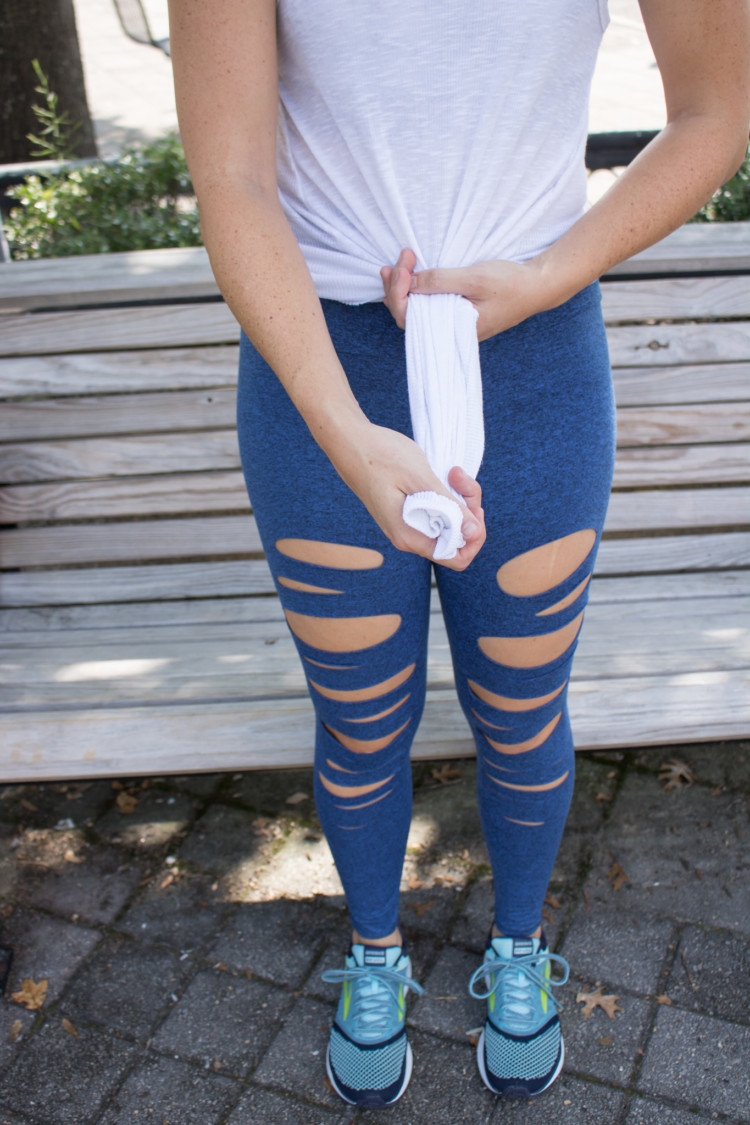
Step one: Gather a portion of your shirt between your thumb and fingers. Hold onto it tightly and pull as much excess fabric away from you as you can. This will make it easier to tie your knot. The more fabric you have to work with, the less you’ll be pinching and squeezing your shirt later on.
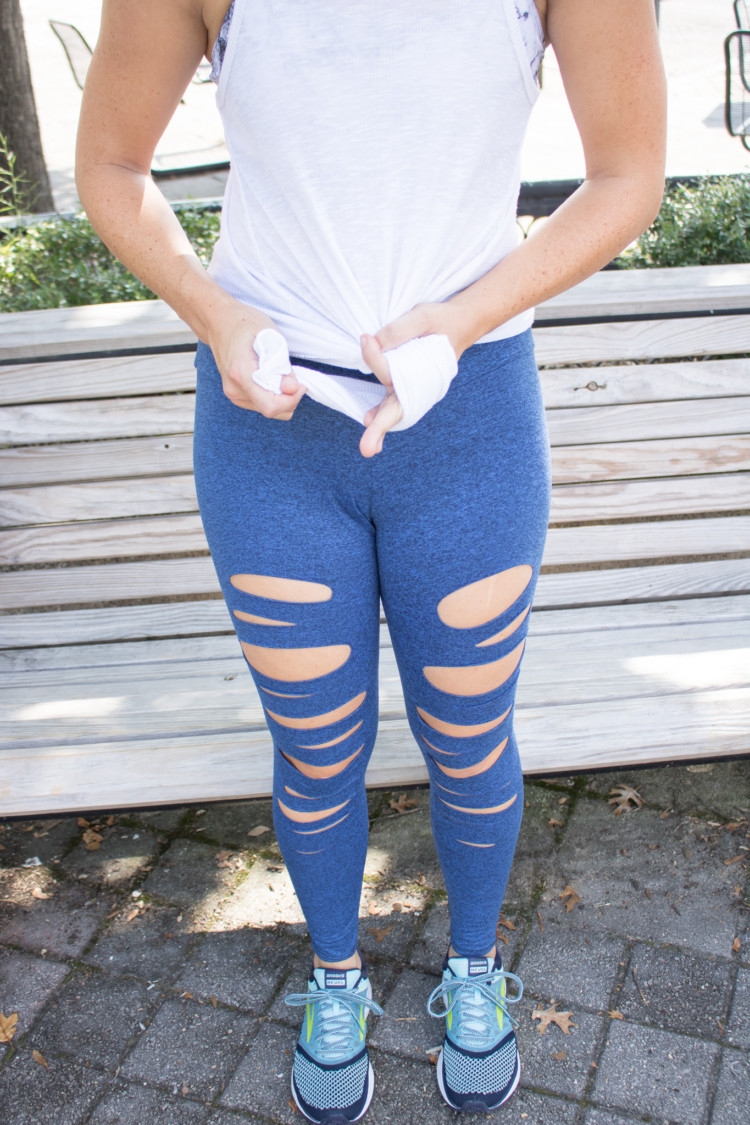
Step two: Begin to tie your shirt. Keeping your thumb and index finger tight around your shirt, drop your other fingers down and wrap your shirt around those fingers. Dropping those fingers down allows you to make a hole for the rest of your shirt to fit into.
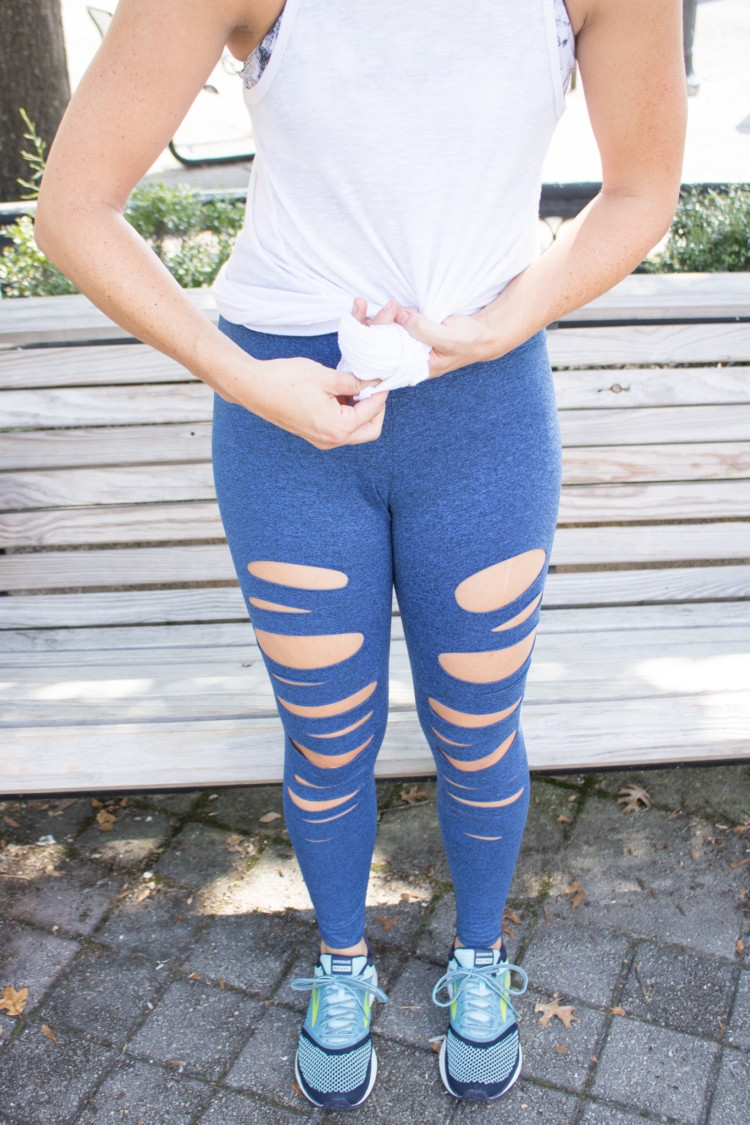
Step three: Now you can begin to bring the shirt back towards the hole you just made.
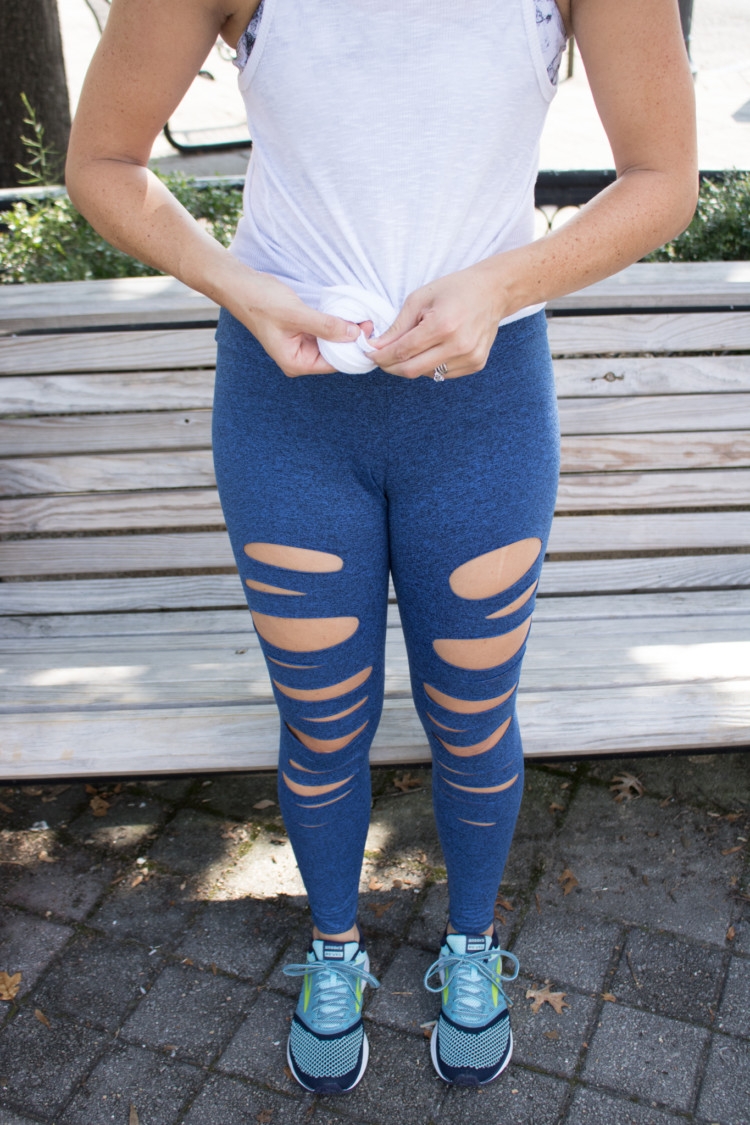
Step four: Almost there! Bring the loose fabric around your fingers and tuck it tightly into the hole.
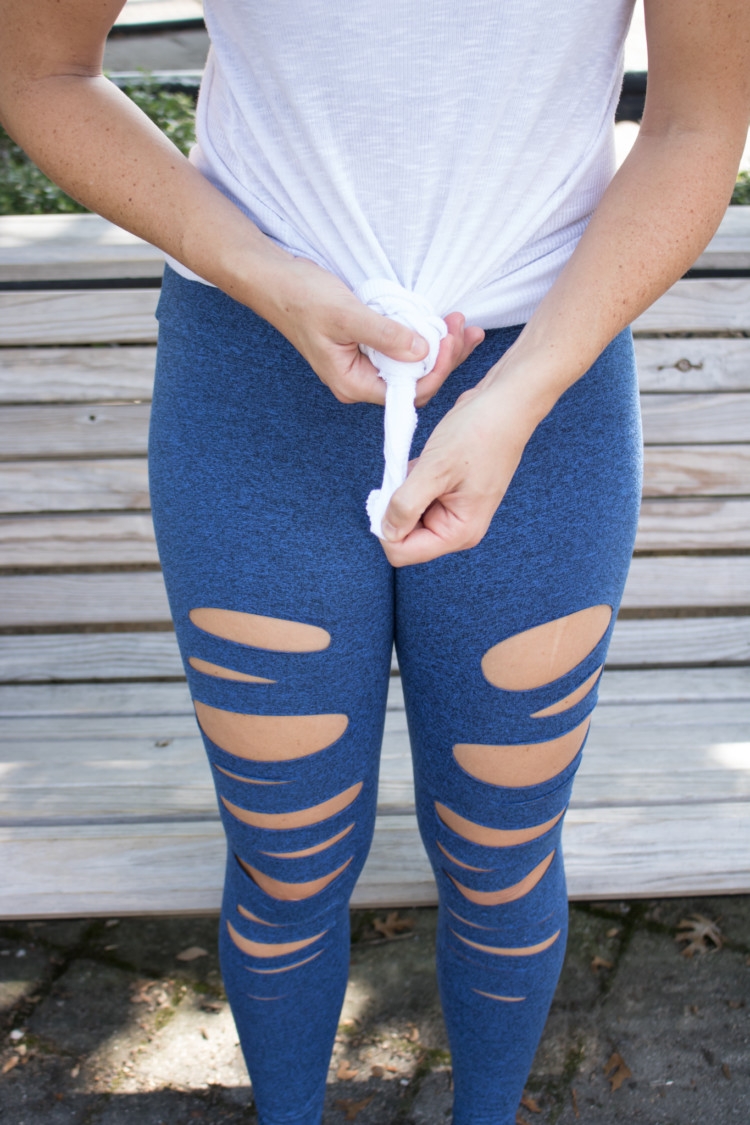
Shop the Onzie leggings & No Show Socks HERE!
Step five: Pull tight and adjust to make sure the knot will hold, and that your shirt fits. You’ll notice that you can kind of pull and tug to adjust your shirt. You may want the knot a little farther away from your body so your tank fits looser, or if you want a tight fit, pull the knot tight so it’s close to your body.
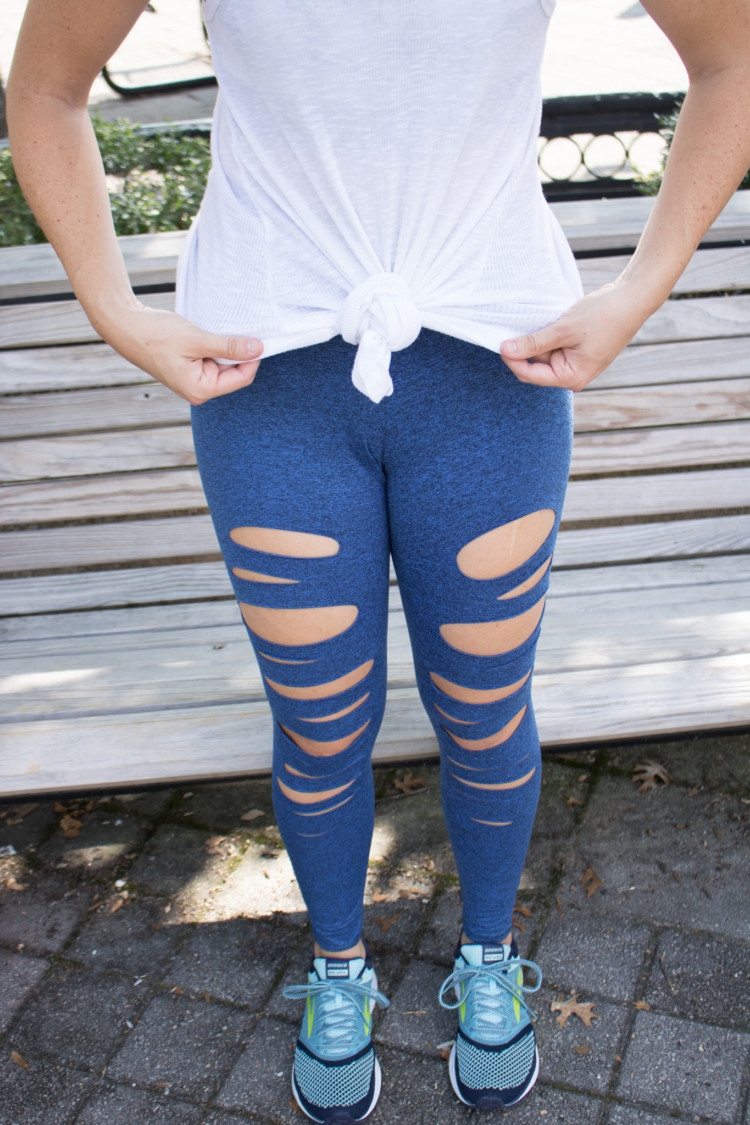
Shop the Onzie leggings & No Show Socks HERE!
VOILA! All set! Now you can rock your knotted tee or tank! This is the perfect pop of detail to your workout outfit and makes any top a great piece to be able to transition from the gym to errands, to coffee and back again! And who doesn’t love a little waist definition with the additional comfort of a great tank top!

Shop The How To Tie Up A Shirt Tutorial Post:
PIN This Hack For Later!


